
ORTHODONTIC CLINICAL CARE
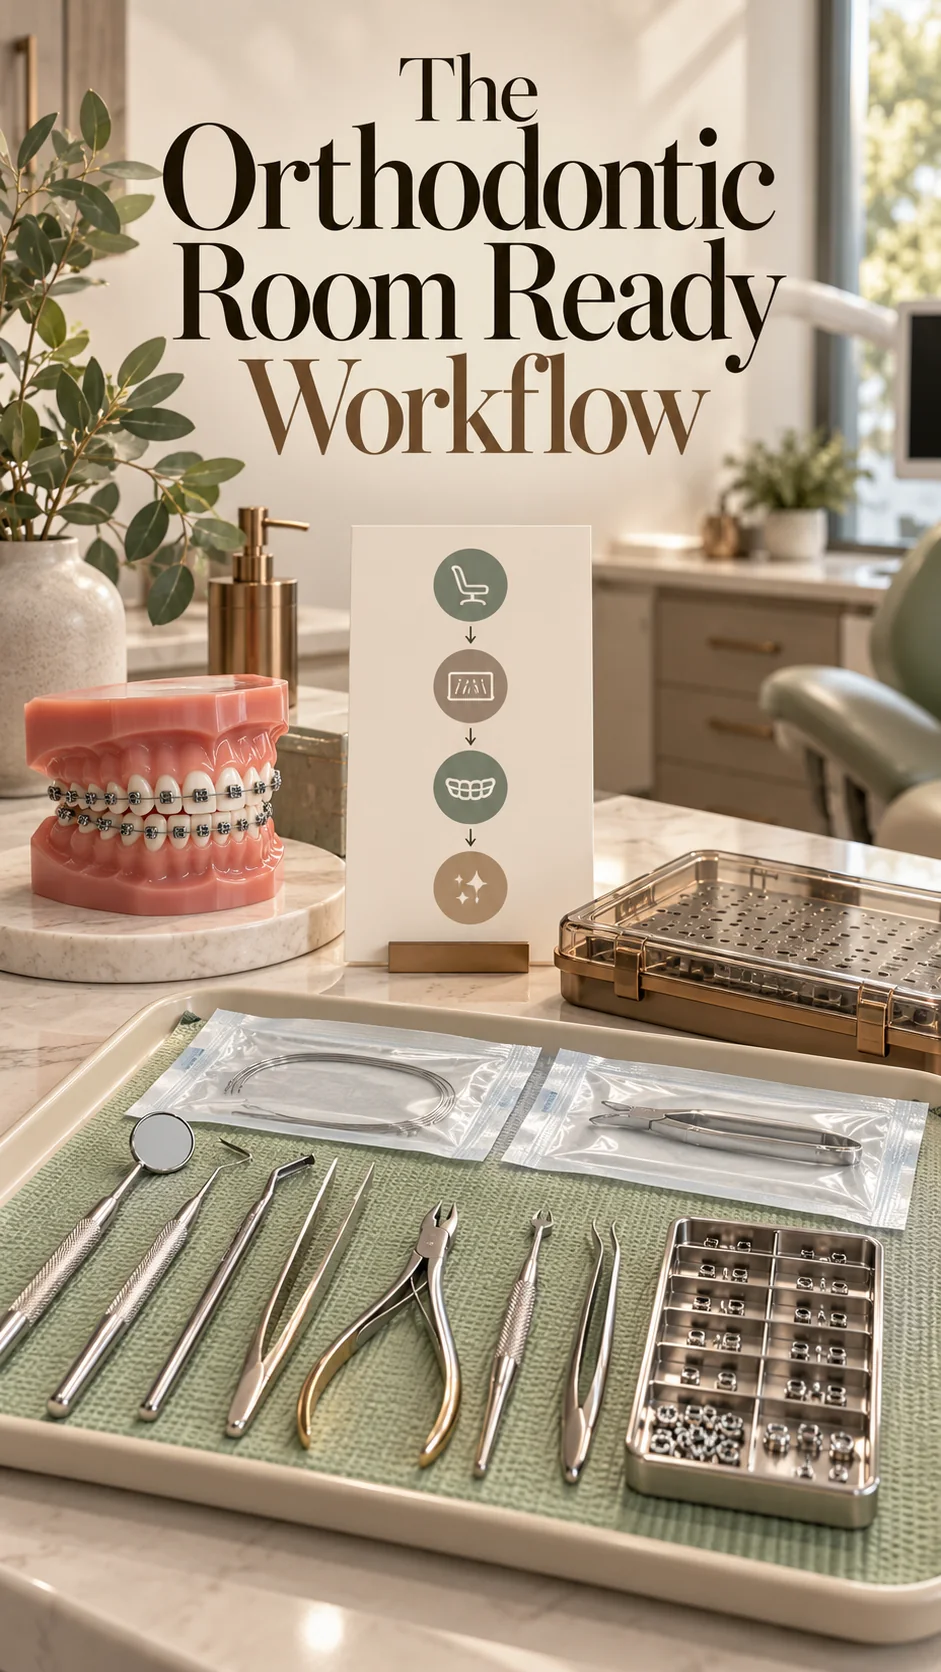
The Orthodontic Room Ready Workflow
A one-page dirty-to-clean turnover map for organized, safety-minded clinical support
Made for This • Resource-first series • October 22, 2026
A room reset is a clinical handoff, not a race
Between orthodontic appointments, an operatory can look deceptively simple: a chair, a light, a tray and a few instruments. Yet the reset between patients is where several safety systems meet. The team must move contaminated items without creating a sharps hazard, clean and disinfect clinical contact surfaces, prepare reusable instruments for the designated processing pathway, and stage the next setup without crossing clean and dirty zones. A reliable workflow makes that sequence visible, so speed never depends on improvisation.
The printable workflow later in this package is designed as a training and handoff aid for orthodontic clinical support staff. It does not replace a practice’s written exposure-control plan, product labels, manufacturer instructions for use, state rules or role-specific training. Instead, it gives beginners a simple mental model: contain first, clean before disinfecting, move from dirty to clean, and stop when something does not match the approved process. That is useful during onboarding because it turns “reset the room” into observable, coachable steps.
Build the reset around Standard Precautions
CDC describes Standard Precautions as the minimum infection-prevention practices for all patient care. In dental settings, they include hand hygiene, appropriate personal protective equipment, sharps safety, sterile instruments and clean, disinfected environmental surfaces. For an orthodontic operatory, that means the reset begins before anyone reaches for fresh supplies. The outgoing setup must be made safe, and the person doing the turnover must know which barriers, containers, PPE and products the practice has approved.
The sequence matters because clean and contaminated work should not overlap. A common training error is to bring a fresh tray or sealed packages into the room while used instruments and contaminated barriers are still present. Even if the clean items are never visibly touched, the mixed field makes it harder to know what is safe. The workflow map therefore treats “reset the clean field” as a later step, after the dirty phase and environmental cleaning are complete.
Contain and transport before processing
CDC recommends minimizing the handling of loose contaminated instruments and carrying them in a covered, puncture-resistant, leak-proof container. Its sterilization guidance also warns against reaching into trays or containers when sharp instruments cannot be seen. OSHA’s bloodborne-pathogens framework likewise requires employers to use engineering and work-practice controls and maintain an accessible exposure-control plan. In practical terms, a support team member should use the practice’s designated transport system and never invent a shortcut because the sterilization area is busy.
Instrument processing is its own controlled workflow, not an extension of casual room tidying. CDC describes a directional pattern through receiving and decontamination, preparation and packaging, sterilization, and storage. The exact equipment, cycle, monitoring method and handling steps come from the practice’s protocols and manufacturer instructions—not from a generic handout. If a package is wet, torn or punctured, or if a device has unclear reprocessing instructions, the safe response is to hold it out of use and ask the designated lead.
Clean first, then disinfect the room
Environmental turnover also follows an order. CDC advises cleaning and then disinfecting clinical contact surfaces that are not barrier-protected, using an EPA-registered hospital disinfectant appropriate to the practice’s protocol; barriers should be changed between patients when used. Cleaning removes soil that can interfere with disinfection, while the disinfectant still needs the label’s contact time and other instructions to work as intended. “A quick wipe” is not a measurable process unless it follows the approved product label and office procedure.
Orthodontic rooms have many touch points beyond the obvious counter: chair controls, light handles, drawer pulls, computer interfaces and any equipment handled during the appointment. The goal is not to create an endless list in a public article, because each operatory and product system differs. The better training habit is to use a room-specific surface map created by the practice, then pair it with a final visual check. If a barrier failed, a spill occurred or a surface cannot tolerate the approved product, pause and escalate rather than covering the problem with a new barrier.
Stage the next orthodontic setup only after the field is ready
Once the dirty phase is complete and the room has been cleaned and disinfected according to protocol, the team can restore the clean field. For a braces visit, that may mean checking the approved setup list for a mirror, bracket tweezers, archwire instruments or other appointment-specific items. Sterile packages should remain intact until the office’s procedure calls for opening them, and any compromised package stays out of service. Supply checks belong here too: shortages are safer to solve before the patient is seated than during treatment.
A strong reset ends with a handoff, not just a neat photograph. The support team member confirms that the room matches the next appointment type, records or reports any issue through the practice’s system, and tells the appropriate lead about missing instruments, a damaged package, a product problem or a possible exposure. That closing communication protects the next patient and keeps small process failures from becoming invisible. It also gives supervisors concrete information for coaching, inventory and quality improvement.
Why this matters for someone entering orthodontic clinical care
“Orthodontic clinician” is an editorial umbrella for this series, not a single nationally standardized or independently licensed credential. Orthodontists and other licensed professionals diagnose and direct treatment; clinical support staff, assistants and technicians work within duties, credentials and supervision defined by state law and employer policy. DANB emphasizes that allowable duties and job titles differ across states. In Ohio, for example, the administrative rules distinguish categories of dental personnel and specify supervision for delegated functions, which is why a new hire should verify the current board rules rather than assume a task is transferable from another state.
For an interview, a thoughtful answer to “How would you reset an orthodontic room?” is less about reciting brand names and more about judgment. A strong candidate would mention the written exposure-control plan, appropriate PPE, safe transport of contaminated instruments, the dirty-to-clean sequence, product and device instructions, and prompt escalation of anything uncertain. That answer shows professionalism without pretending to diagnose, adjust an appliance, treat pain or make decisions reserved for the treating orthodontist. The practical takeaway is simple: a room is ready only when the process—not just the appearance—has been verified.
Your next step
Print the workflow on the next page, compare it with your practice’s approved room-turnover procedure, and ask a supervisor to mark any office-specific changes before using it. If you are building a broader learning binder, browse the Made for This guides and resources at madeforthisblog.web.app/shop.html. No specific orthodontic guidebook is represented here as published; use the shop page to verify what is currently available.
PRINTABLE RESOURCE
The Orthodontic Room Ready Workflow
Use only after role-specific training and adapt to the practice’s exposure-control plan, product labels, manufacturer IFUs and state requirements.
1 | PAUSE + VERIFY |
2 | CONTAIN + TRANSPORT |
3 | CLEAR THE DIRTY FIELD |
4 | CLEAN, THEN DISINFECT |
5 | RESET THE CLEAN FIELD |
6 | FINAL CHECK + HANDOFF |
STOP + ESCALATE if you cannot identify an item, the approved process is unclear, a sterile package is compromised, a spill or exposure may have occurred, or the room cannot be made ready safely. |
Educational resource only • Not individualized clinical advice • Do not independently diagnose, adjust appliances, prescribe care or treat pain
Guidebook roadmap
This daily series is building a multi-part Orthodontic Clinical Care resource roadmap. Today’s workflow is Part 10: Room Ready Reset. Earlier editorial installments have covered the first orthodontic appointment, adjustment visits, appliance issues, retainer delivery, aligner check-ins, symptom and question tracking, and anxious-patient communication. Planned parts include privacy and consent reminders, clinician-team handoff sheets, interview preparation, terminology and training-pathway maps. Every planned part remains labeled planned until publication is independently verified; this document does not claim that a compiled guidebook is available.
Sources
• Centers for Disease Control and Prevention — Standard Precautions (May 15, 2024)
• CDC — Best Practices for Sterilization in Dental Settings (May 15, 2024)
• CDC — Best Practices for Environmental Infection Prevention and Control (May 15, 2024)
• American Dental Association — Infection Control (accessed October 22, 2026)